.jpg)
Painting is often regarded as one of the more simple trades and "anyone can do it."
In fact, paint is a very complex product and the painting trade is one of the most exacting trades.
A good painter makes any building job look great.
Over the next set of five-minute modules, we are going to explore the different types of paint and how they are used inside and outside of building.
We will finish off with some advanced techniques that can be used on fine surfaces to create luxurious and expensive finishes.
Water‑based (acrylic/latex) paints are the default for most interior and many exterior jobs because they dry fast, have lower VOCs and clean up with soap and water; solvent‑based (alkyd/enamel) paints give tougher, longer‑lasting films but require mineral spirits or turpentine for cleanup and have higher fumes. Choose by substrate, exposure and finish required, and always match your cleaning solvent to the paint type.
You must be able to identify the main paint families, their typical uses and the correct cleanup method.
Water‑based (acrylic/latex): fast drying, low odour and lower VOCs, easy soap‑and‑water cleanup; ideal for most interior and many exterior walls.
VOCs are Voltaile Organic Compounds. These include gases such as formaldehyde which are very dangerous if you breath too much. These are responsible for the heavy paint smell which sometimes can make your eyes water and your throat burn.
Solvent‑based (alkyd/enamel): tougher film, longer open time, cleaned with mineral spirits; used for high‑wear trim and some metalwork.They often worl better in the cold. Solvent‑based paints and thinners are flammable and emit VOCs—use respirators, gloves and ventilated areas. Dispose used solvents and contaminated rags as hazardous waste per local regulations.
Specialty families: lacquer (fast drying, sprayed high gloss), shellac (alcohol‑based sealer), epoxy/polyurethane (two‑component, chemical/hardwear resistance). These paints need lacquer thinners and acetone for clean up.
Sheen levels: flat/matte hides surface flaws; eggshell/satin balances hide and cleanability; semi‑gloss/gloss best for trim and wet areas.
Durability factors: binder quality, pigment load, and film thickness determine wear resistance more than sheen alone.
Environmental exposure: UV, moisture and abrasion drive choice of exterior formulations and additives (UV stabilisers, mildewcides).
Pigments: provide colour and hiding; some pigments (e.g., certain reds) fade faster in sunlight.
Extenders/fillers: reduce cost and alter body; too many extenders can reduce hiding power.
Additives: flow agents, anti‑settling, mildew inhibitors and coalescents tailor performance for job conditions.
Core ingredients: binder/resin (film former), pigment, solvent/vehicle, extenders and performance additives.
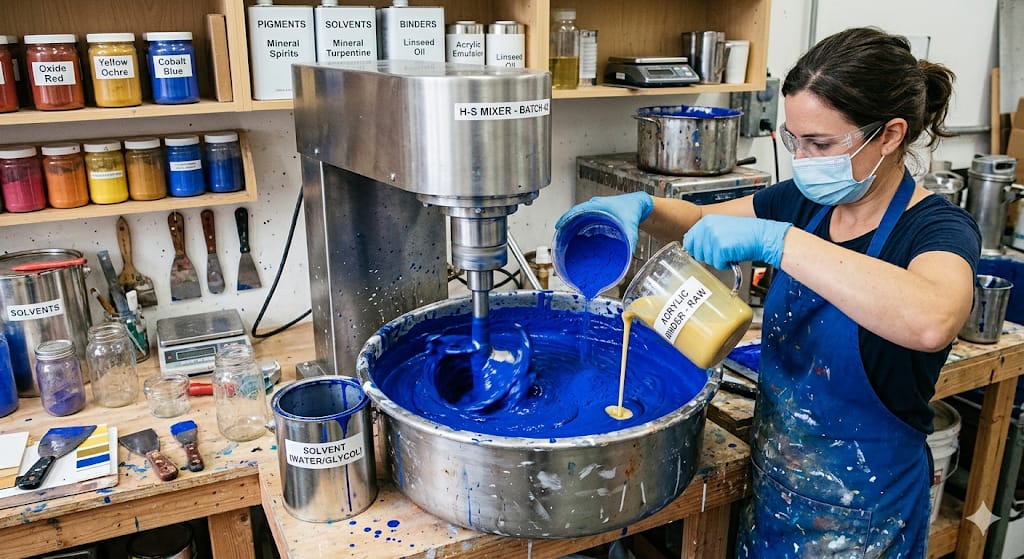
Dispersion and milling: pigments are ground into the binder/solvent to achieve correct particle size and uniform colour.
Let‑down, QC and packaging: final viscosity, colour match and VOC checks; batch coding for traceability.
Paint begins with four core ingredients: a binder or resin that forms the film, pigments that provide colour and opacity, a solvent or vehicle to adjust flow, and extenders plus performance additives that tune durability, gloss, and application properties. Manufacturing starts by wetting and dispersing pigments into the binder and solvent, then passing the mix through high‑speed mills so pigment particles reach the correct size and the colour becomes uniform. After milling the concentrate is let down (diluted and finished to reach the paint’s final viscositywith additional solvent, binder, and additives to reach the target formulation; technicians adjust viscosity, solids content, and tint strength while automated systems and lab analysts perform colour matching and VOC measurements. Final quality checks confirm coverage, drying behaviour, and safety limits, then the batch is coded for traceability and filled into cans with labels and seals. From raw materials to the finished can, the process balances chemistry, mechanical dispersion, and rigorous quality control to deliver consistent, ready‑to‑use paint.
Immediate rinse: flush tools with warm water until water runs clear; use a brush comb for bristles.
Use mild detergent: break down residual binder; spin or roll out excess water before drying.
Storage: reshape bristles, hang or stand on heel; store rollers vertically to avoid flattening.
Match the solvent: mineral spirits for alkyds; lacquer thinner or acetone for lacquers; follow SDS.
Closed‑system cleaning: use a gun washer or closed container to minimise vapour and solvent loss.
Ventilation and PPE: solvent vapours are hazardous and flammable—use respirator, gloves and ventilated area.
Routine disassembly and inspection: clean fluid passages, filters and needles after each colour run to prevent clogs.
Solvent recovery: use distillation or recovery units where possible; segregate used solvent for recycling or licensed disposal.
Waste control: contaminated rags, filters and sludges are hazardous—store in sealed containers and dispose via licensed waste handlers.
PPE and engineering controls: gloves, eye protection, respirators and local exhaust ventilation for solvent work.
Storage and segregation: keep flammables in approved cabinets; label containers and keep incompatible materials apart.
Record and dispose: maintain waste logs, use licensed hazardous waste contractors, and follow local regulations for disposal.
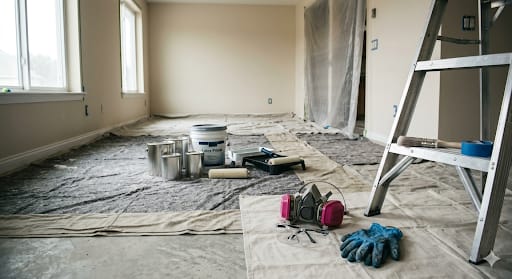
Prepare a room safely and efficiently for a professional interior paint job
Clear and protect: remove or center furniture; cover floors with canvas; tape edges.
Ventilation and PPE: use respirator for sanding/solvents; ensure airflow.
Plan coats and materials: calculate paint quantity; choose finish for room use.
Patch holes, sand, and decide when to prime
Patch hierarchy: spackle for small holes; joint compound for larger cracks.
Sanding sequence: coarse to fine; remove dust with tack cloth.
Primer rules: new drywall, stains, big colour changes need primer.
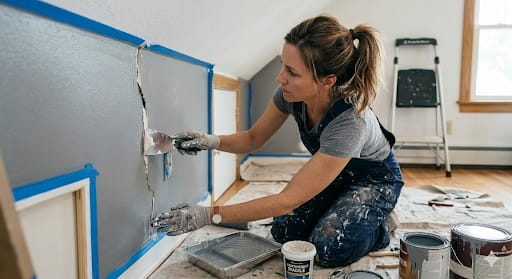
Achieve crisp edges and uniform roller coverage
Cutting in: use angled brush; paint a 2–3 inch border before rolling
Roller technique: load evenly; use W pattern then fill; avoid overworking
Nap selection: choose roller nap by wall texture.
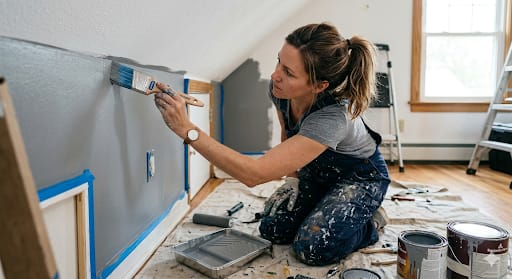
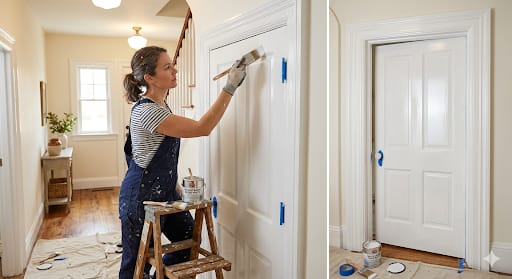
Paint trim and doors with minimal brush marks and durable finish
Preparation: sand, degloss, and prime bare or repaired wood.
Brushwork: use high‑quality sash brush; thin coats; sand between coats.
Flow and leveling: avoid heavy paint buildup; maintain wet edge.
Identify and correct runs, orange peel, lap marks, and poor adhesion
Runs and sags: sand smooth, feather edges, recoat thinly.
Orange peel: check roller nap and thinning; adjust technique.
Adhesion failures: check substrate, clean, and use correct primer.
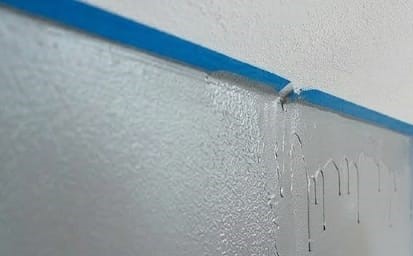 zoom in for detail
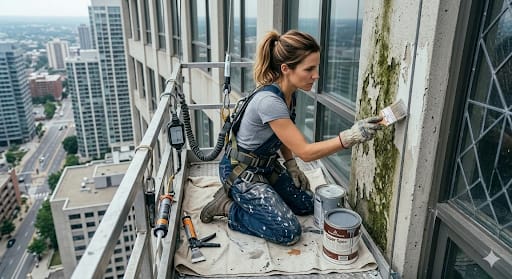
The weather is never friendly for painters. Choose optimal weather and set up safe exterior access. Don't climb wet ladders.
Temperature and humidity: paint within manufacturer limits; avoid rain.
Sun and flash drying: avoid painting in direct midday sun on hot surfaces.
Ladder and fall safety: secure ladders; use harnesses for heights.
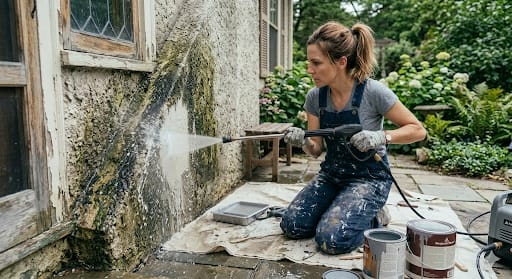
Exterior walls and roofs are subject to weather and sun damage. Cleaning and removing loose paint and repairing exterior surfaces for adhesion is critical.
Cleaning methods: pressure wash for dirt; chemical cleaners for mildew.
Remove failing paint: scrape and feather edges; sand glossy spots.
Repair: fill cracks with exterior filler; replace rotten wood.
Select primers and paint systems for longevity
Primer types: oil for bare wood/metal; masonry primers for brick; bonding primers for slick surfaces.
Paint system: primer + topcoat; consider elastomeric for stucco.
Tinted primer: speeds coverage when changing color drastically.
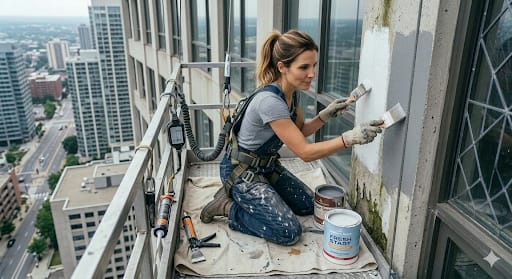
Modern building techniques have introduced many different materials for the exterior finish of buildings. Different methods are required for these materials.
Wood: seal end grain; allow for expansion; use stain and blocking primer.
Metal: remove rust; use rust inhibitor; thin coats to avoid runs.
Vinyl: use flexible coatings; avoid dark colors that overheat.
Inspection schedule: annual checks for cracking, peeling, mildew. Create a simple maintenance plan.
Touchup technique: clean, feather edges, use same paint batch or blend. Explain how to execute durable touch ups.
Record keeping: note paint codes, batch numbers, and dates.
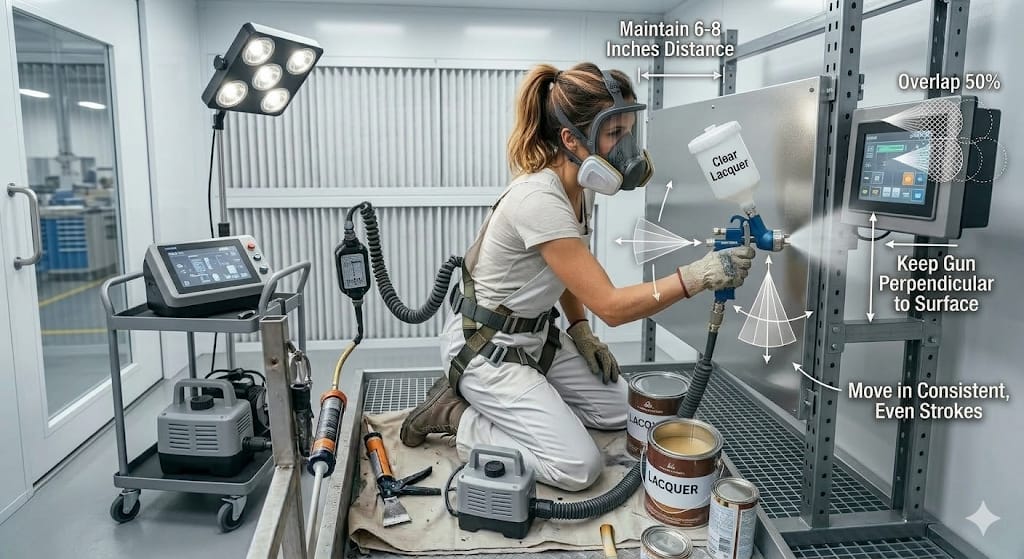
We discover the properties of lacquer and learn about basic spray application for smooth finishes
Lacquer types: nitrocellulose vs. catalyzed; know drying and recoat windows.
Spray setup: correct nozzle, pressure, and thinning for even atomization.
Safety: solvent respirator, explosion‑proof ventilation, and grounding.
We learn how to build a high‑gloss shellac or French polish finish by hand.
Shellac properties: fast drying; alcohol soluble; good sealer.
Pad technique: apply thin, overlapping strokes; allow flash off.
Repairability: shellac is easy to spot‑repair but sensitive to alcohol.
Water gilding is the process of applying gold leaf to surfaces. we will learn about the base build up for burnishable gold leaf using gesso and bole
Build layers: gesso for fill; sand smooth; bole for color and adhesion.
Water size timing: apply size to tack stage for leaf pickup and burnishing.
Environment: low dust, controlled humidity for best results.
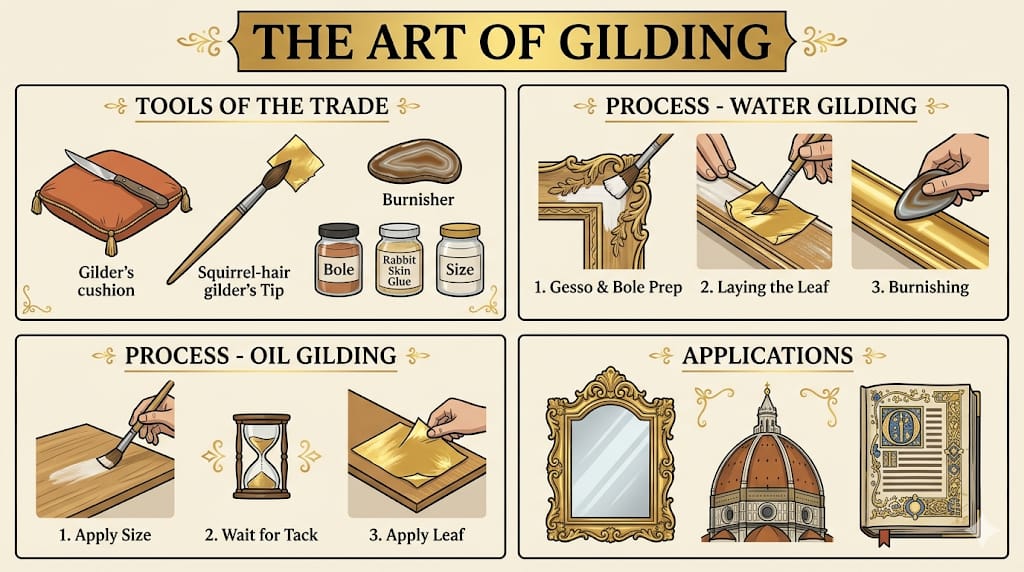
We will learn about using oil size for gilding on painted surfaces and how to highlight using parcel gilding
Oil size: longer open time; good for outdoor or non-waterproof substrates.
Parcel gilding: gild selective areas to highlight details and save cost.
Handling leaf: use tip paper and soft brushes; avoid breath and drafts.
We will learn about finishing gilded work with burnishing, patination and sealing for longevity
Burnishing: only for water gilded pure metal; use agate burnisher and correct dryness.
Patina options: bitumen or steel wool distressing for antique look.
Sealing: de‑waxed shellac or clear protective coats depending on leaf type.